Kintsugi is the Japanese art of fixing broken items, usually pottery or ceramics, with gold or gold lacquer. The idea is that the breakage and repair become part of the history of the object, rather than something to disguise. As it happened, I recently broke a clay pot that I use for storing my keys and cards while at home. I had originally made the pot itself at a clay workshop in Singapore a couple of years ago, and so I decided this was the perfect opportunity to try my hand at some DIY kintsugi.
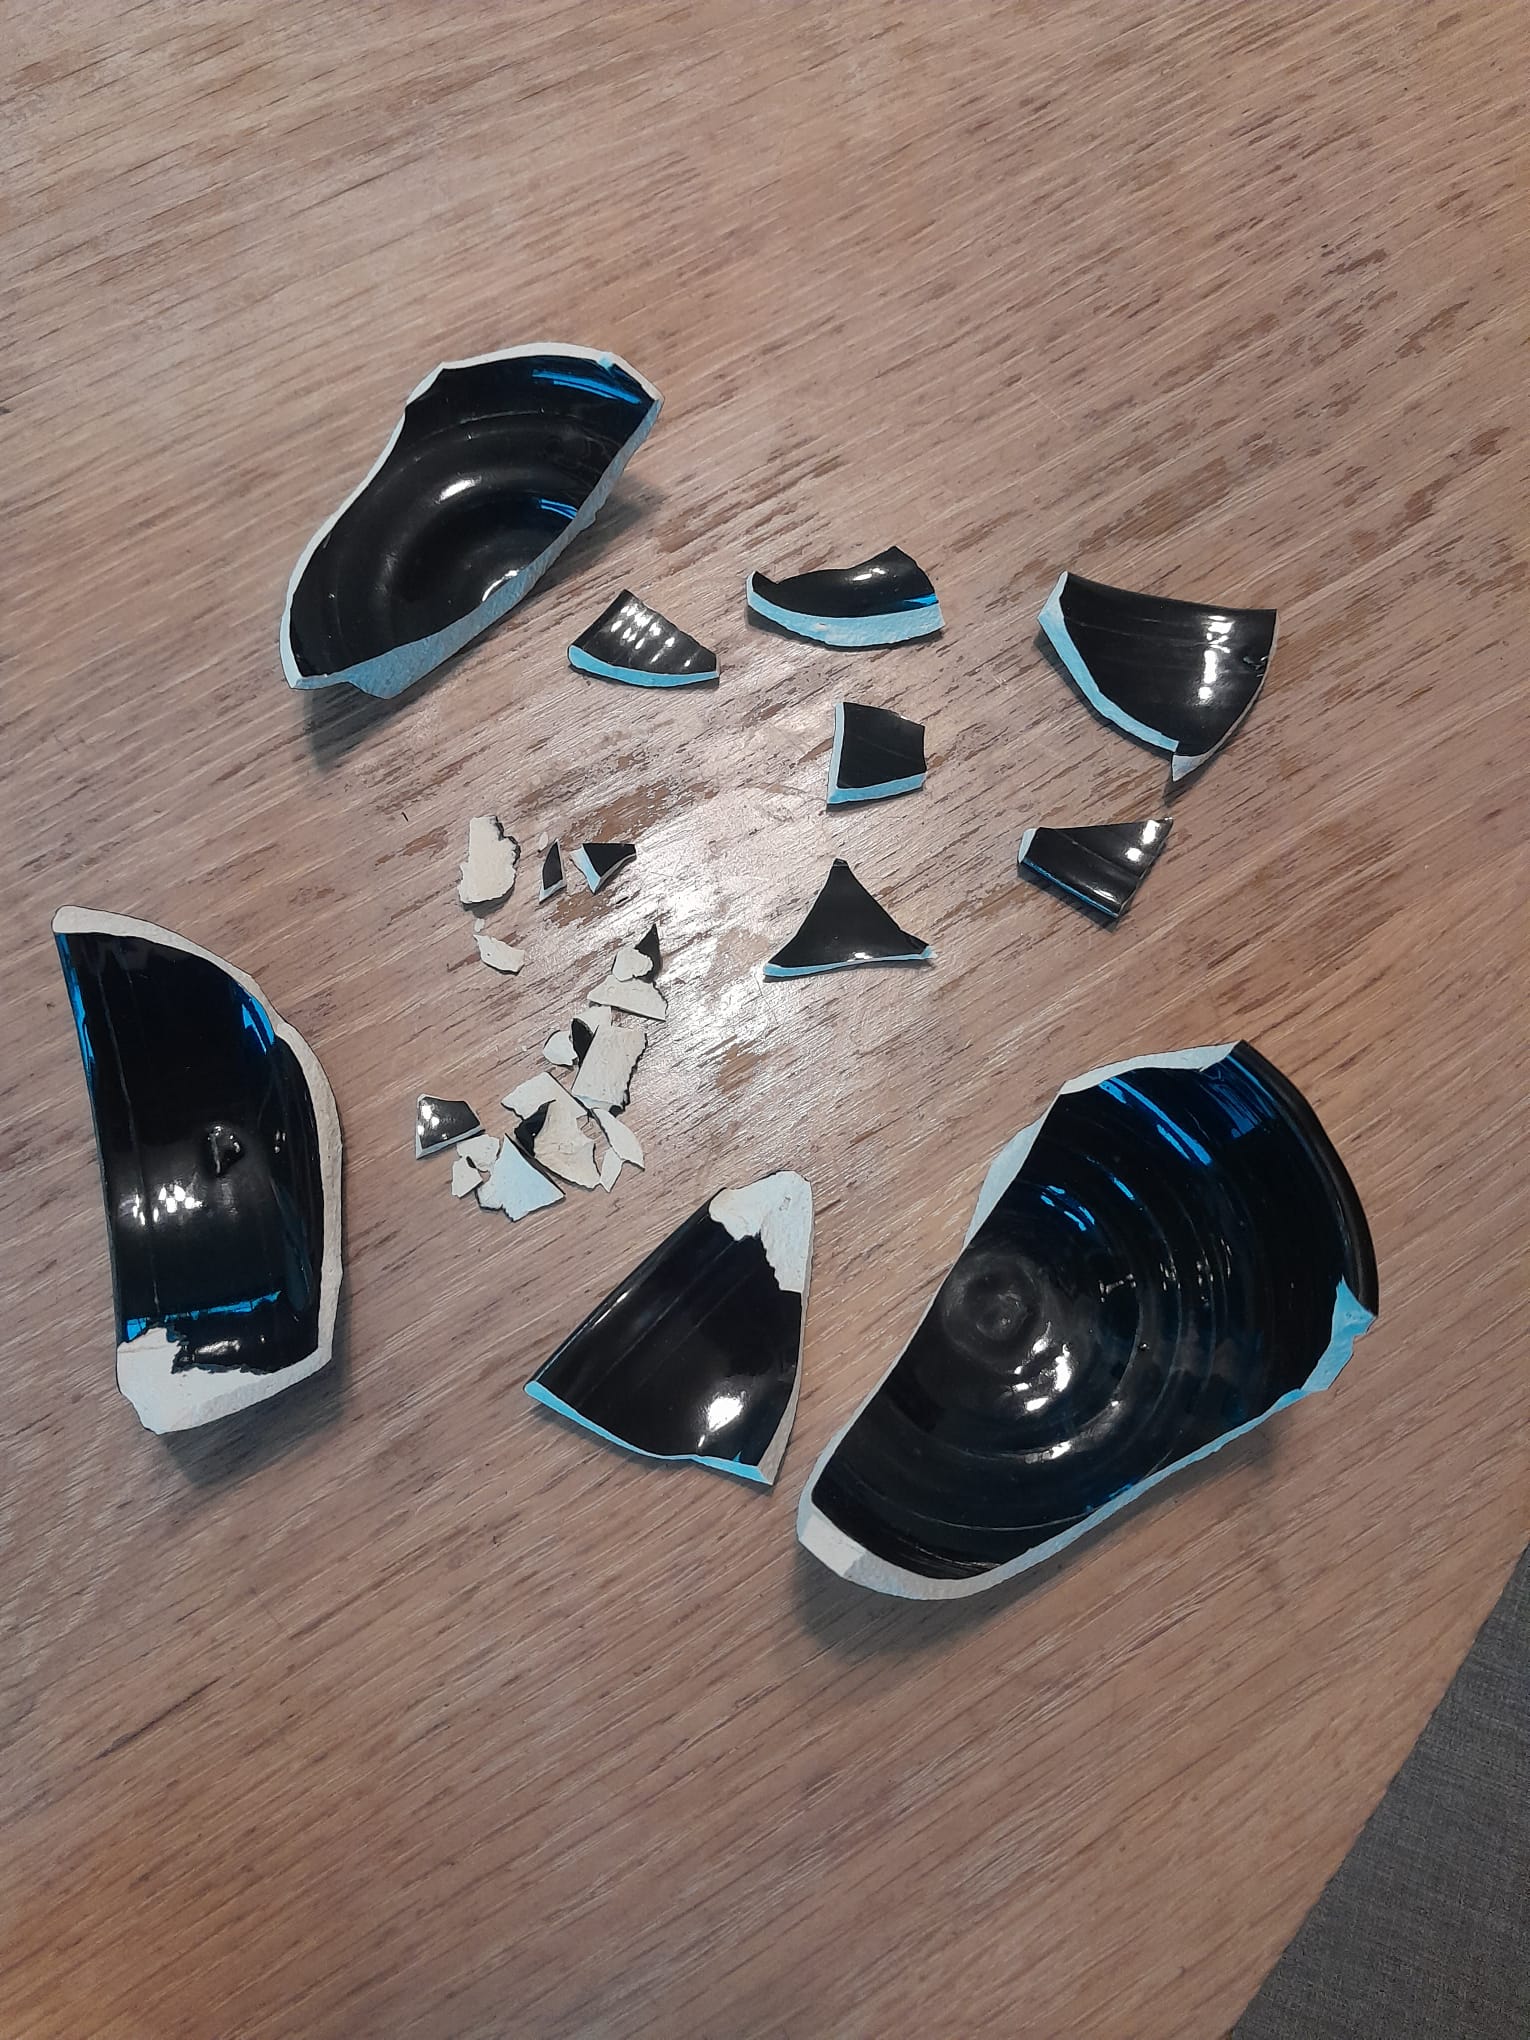
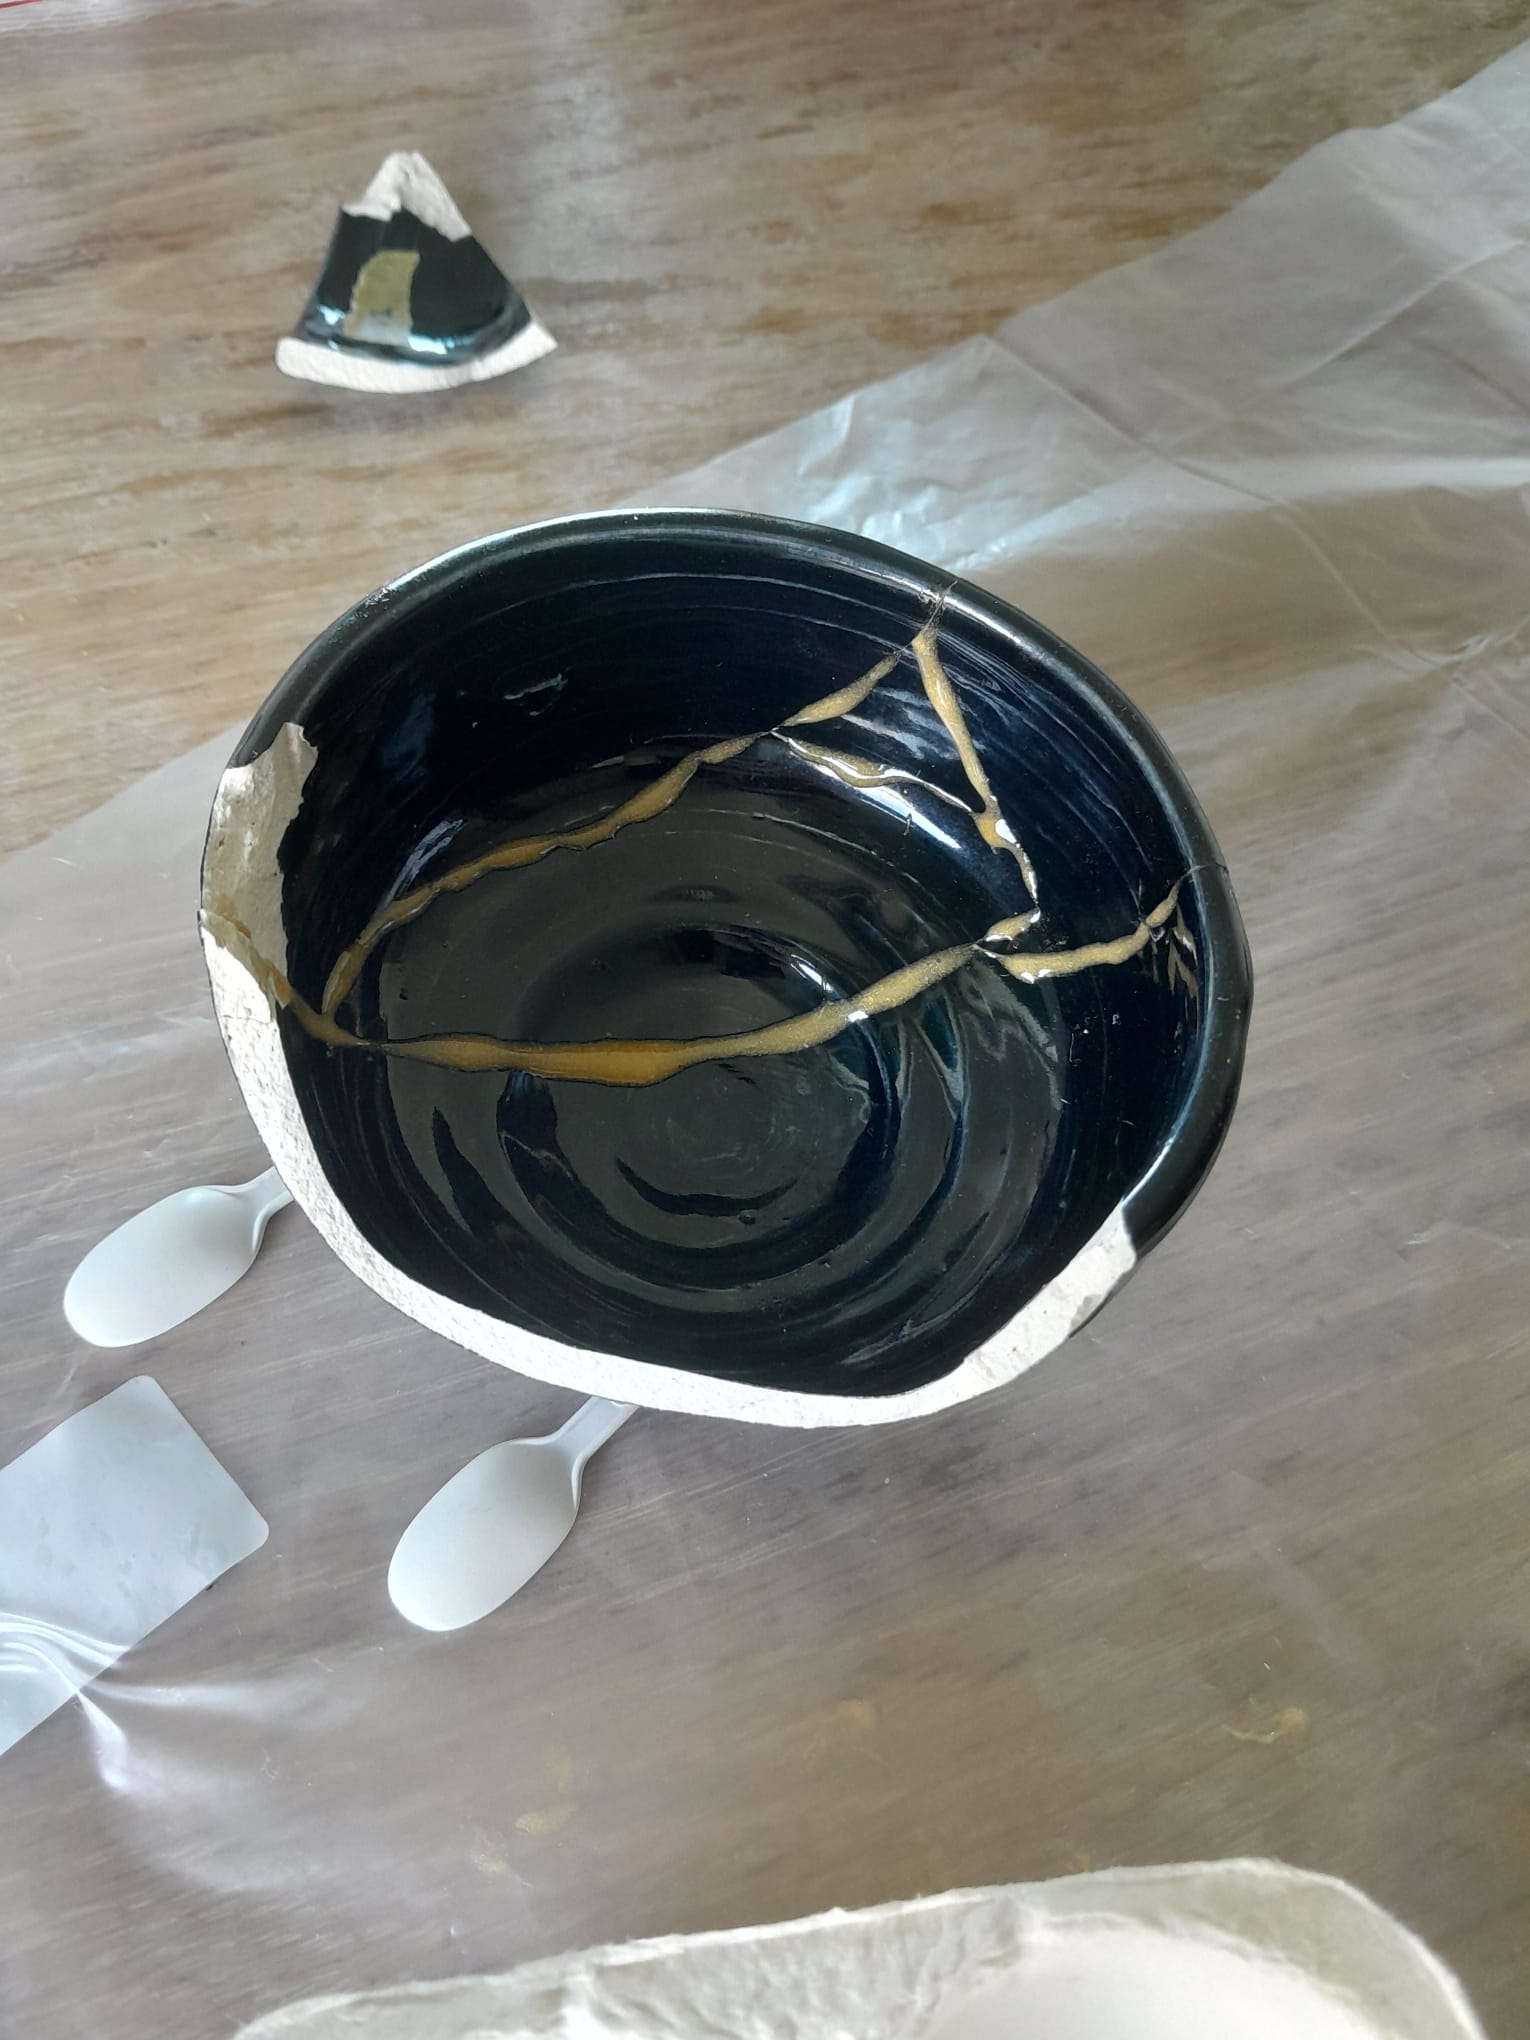
I don't have a before picture of the bowl, (I wasn't intending to break it, after all) but this is what it looked like after I'd recovered as much as possible:
The first step was deciding on the method of repair. I very quickly decided that using real gold wasn't feasible. I first considered using superglue and painting over the cracks with gold, but I wanted the repair material to be a bit more visible. I also doubted superglue's ability to hold the pieces together for a long time. I settled on using some slow setting epoxy resin, and mixing a touch of gold acrylic paint into it before applying. The idea was that the resin would also be more forgiving at filling in any gaps caused by missing pieces, or rounding off imperfect joins. Once that was decided and the materials gathered, the next step was to get an idea of how the pieces fit together and in what order they should be connected.
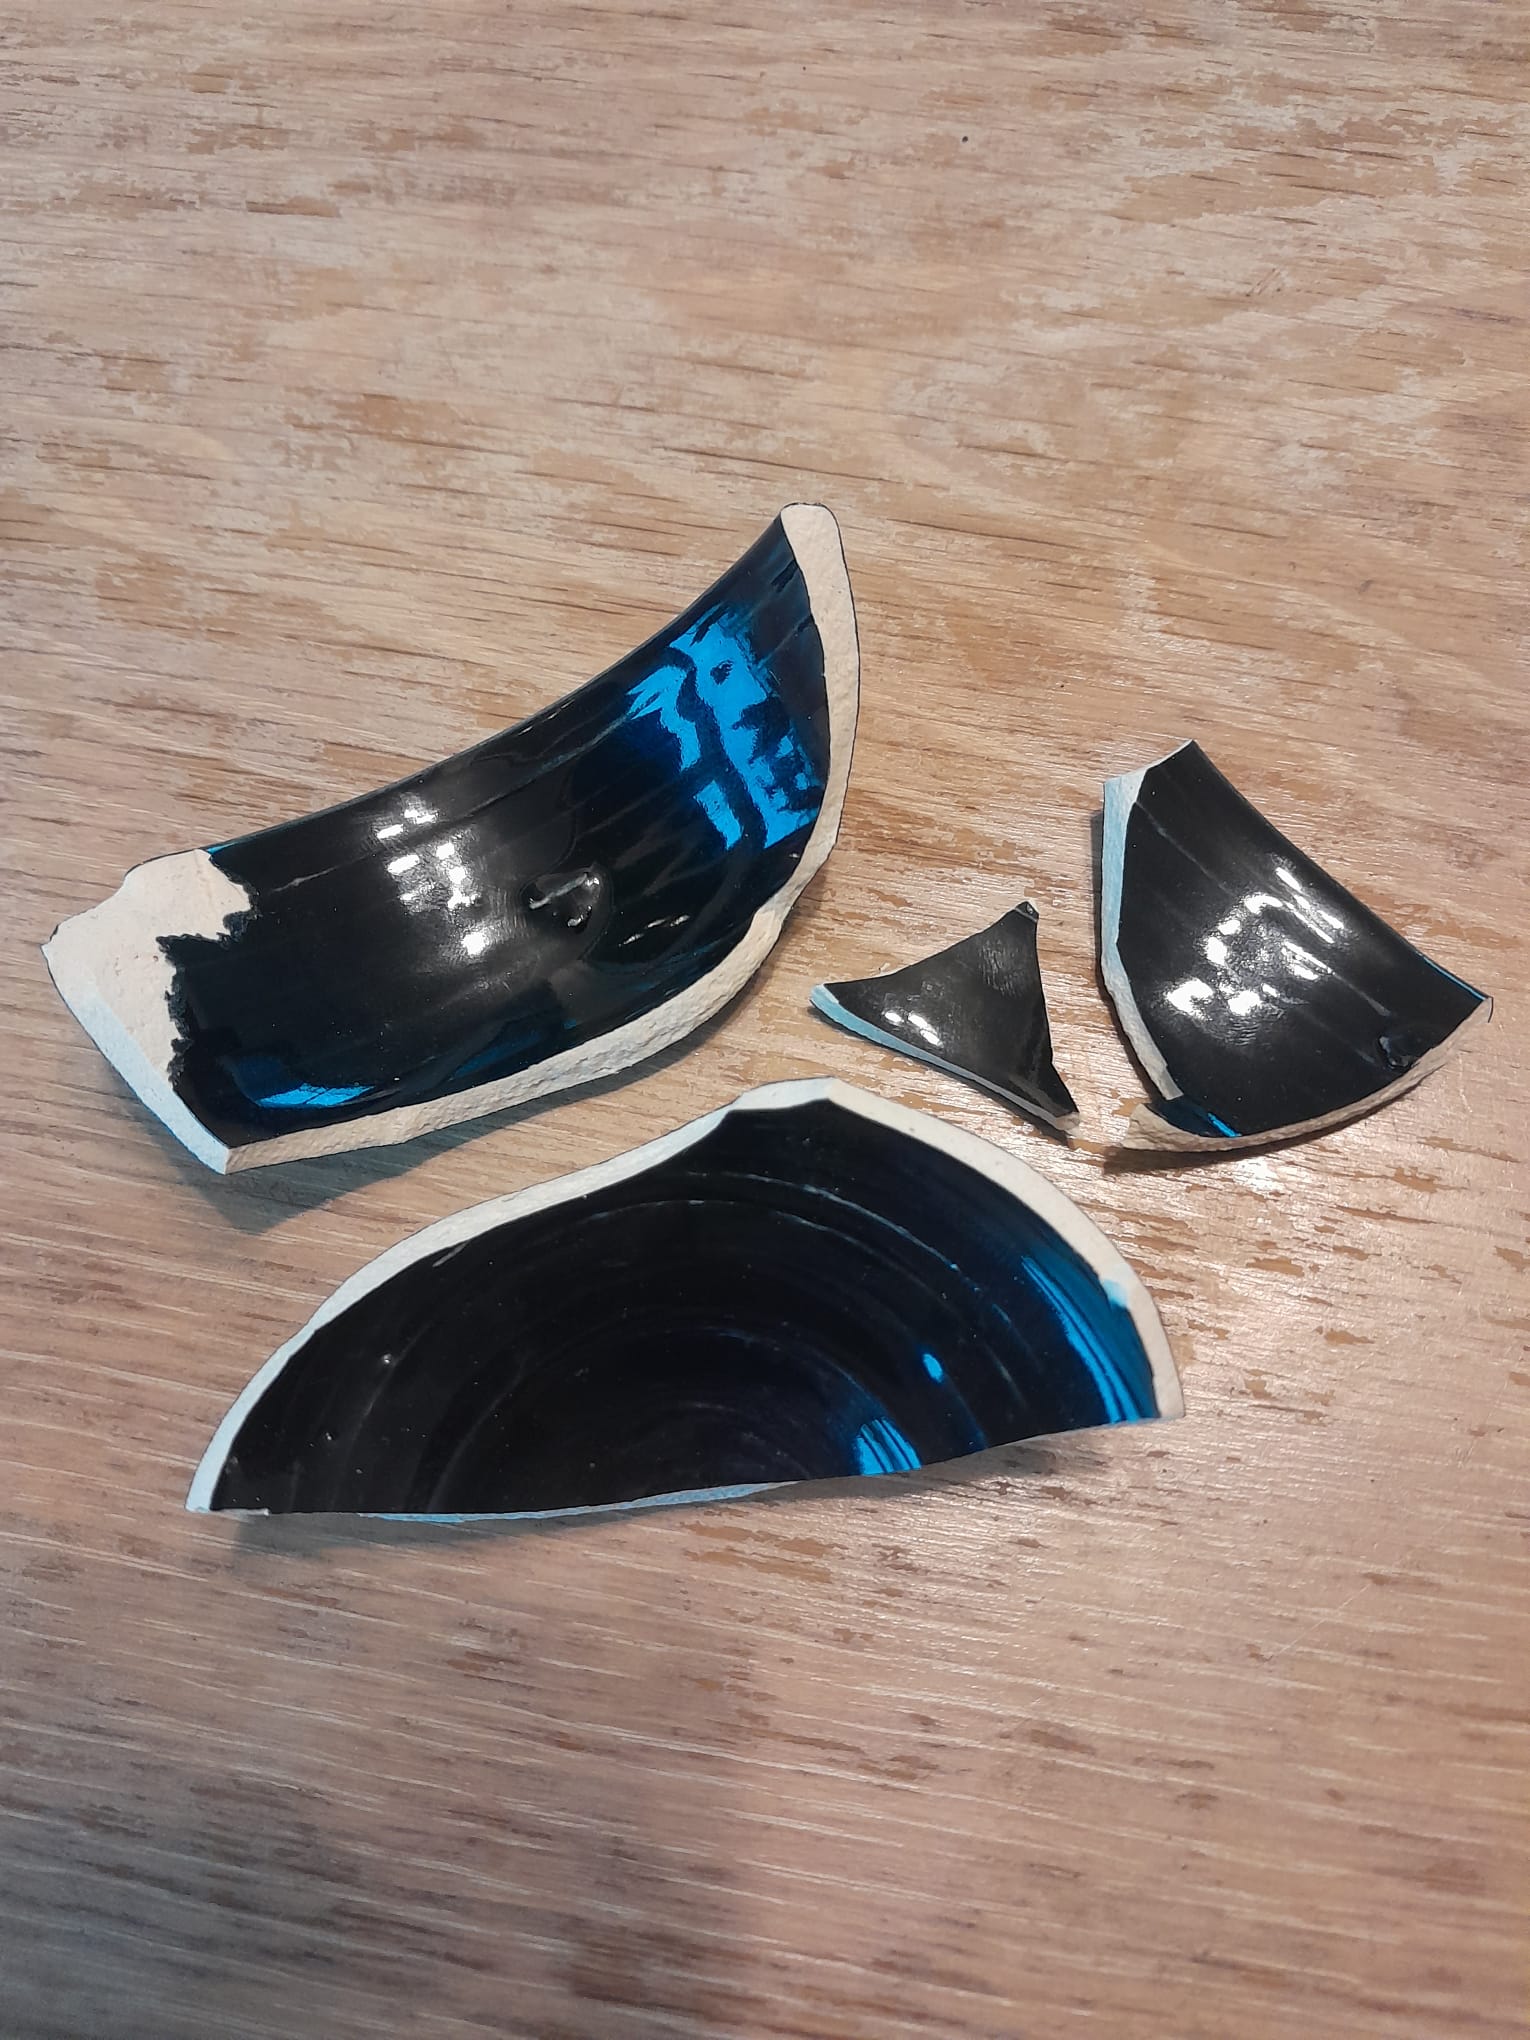
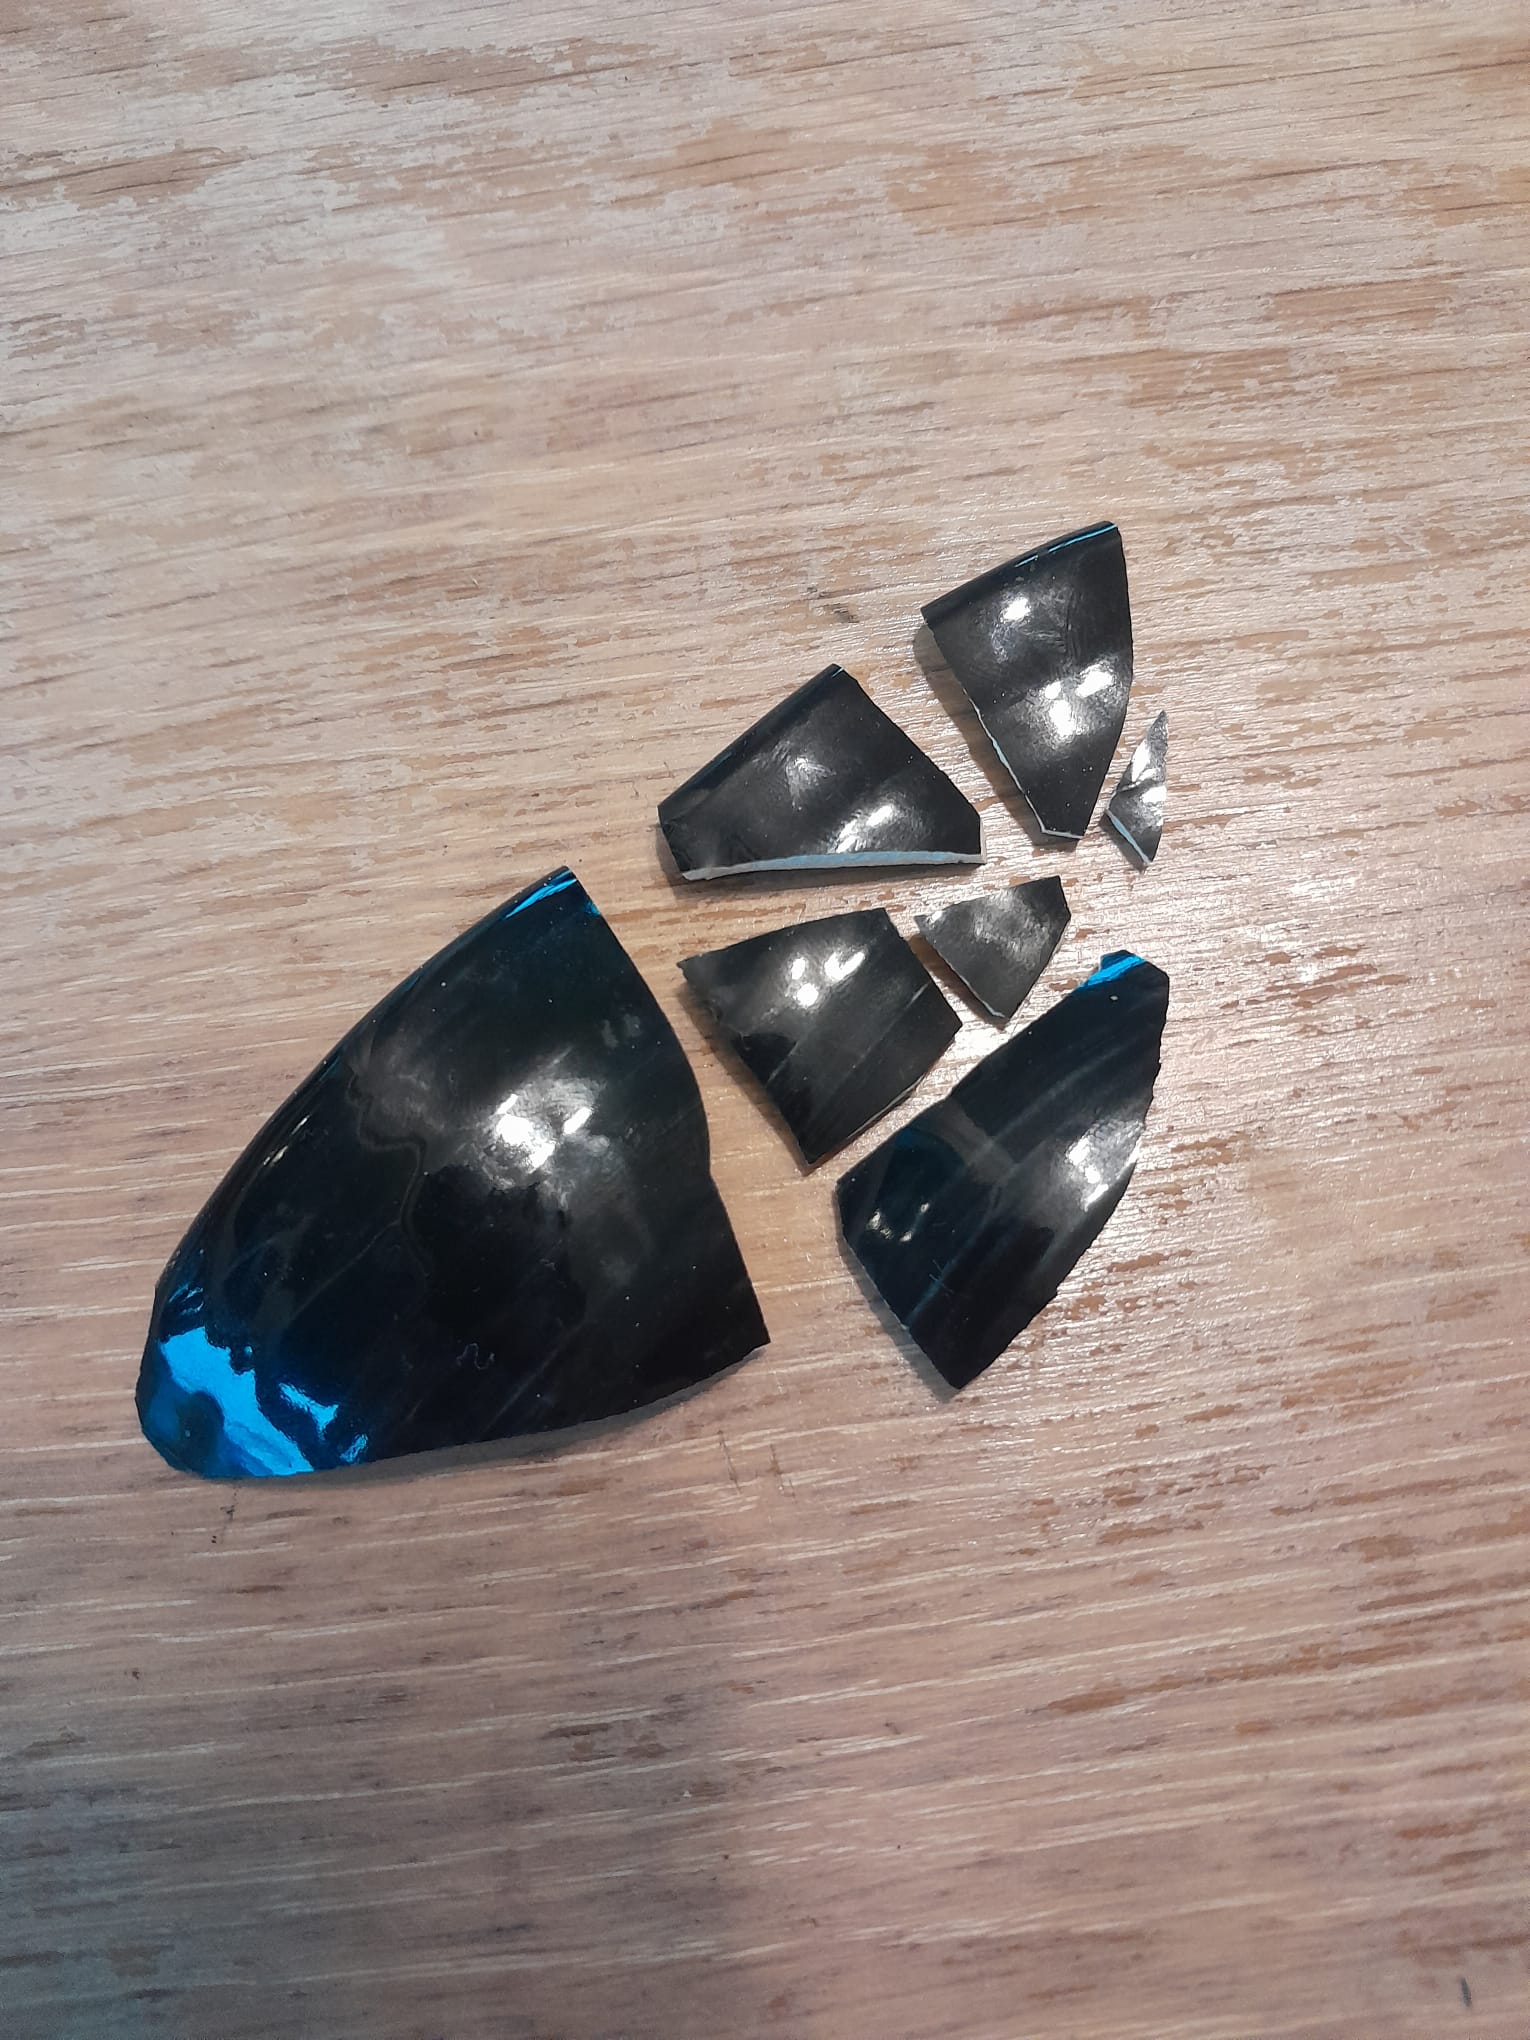
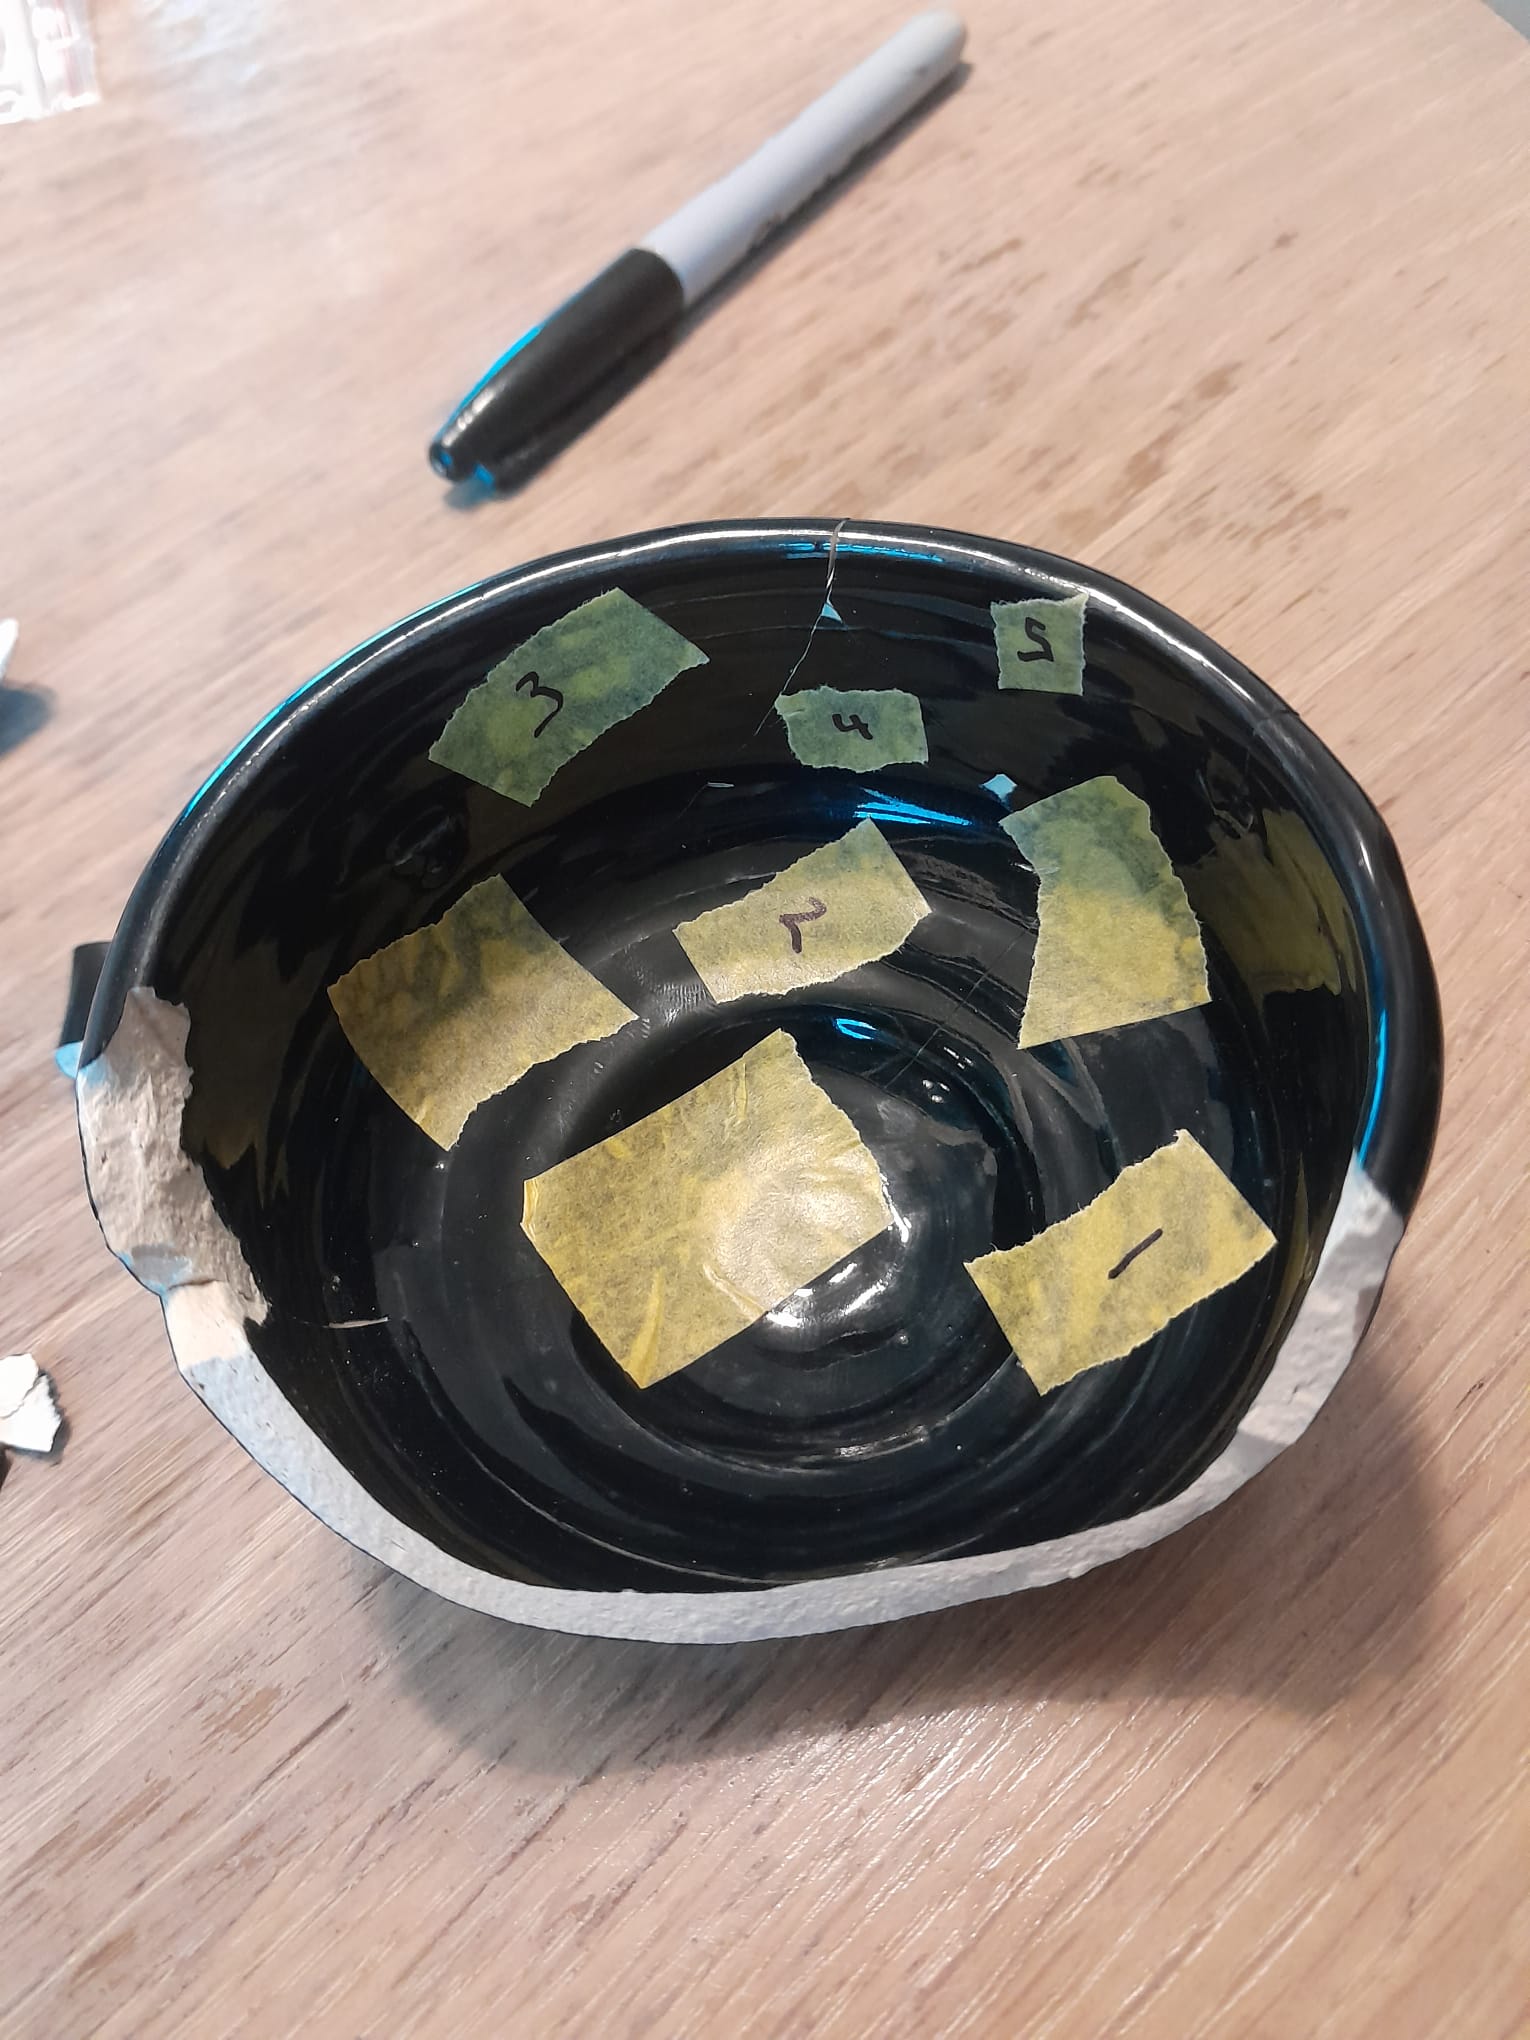
One side of the pot was a lot more broken than the other (likely the part that it landed on) and was a lot tricker to piece back into shape (middle image, above). The right-most image above shows the easier side (left-most image, above) held in place with painting tape and numbered in the order they would be connected later.
Once the ordering was set, connecting them was next. The internet advised a 10:10:1 ratio of epoxy:hardener:paint, but I didn't have measuring tools this accurate, so I'll confess I just winged this part and eyeballed it. (spoiler: it hasn't fallen part yet.) The epoxy was more viscous than I was expecting, but it flowed nicely out between the cracks when some pressure was applied. The first side fit together quickly, gravity doing a lot of the work in keeping the pressure on the joins (below left).
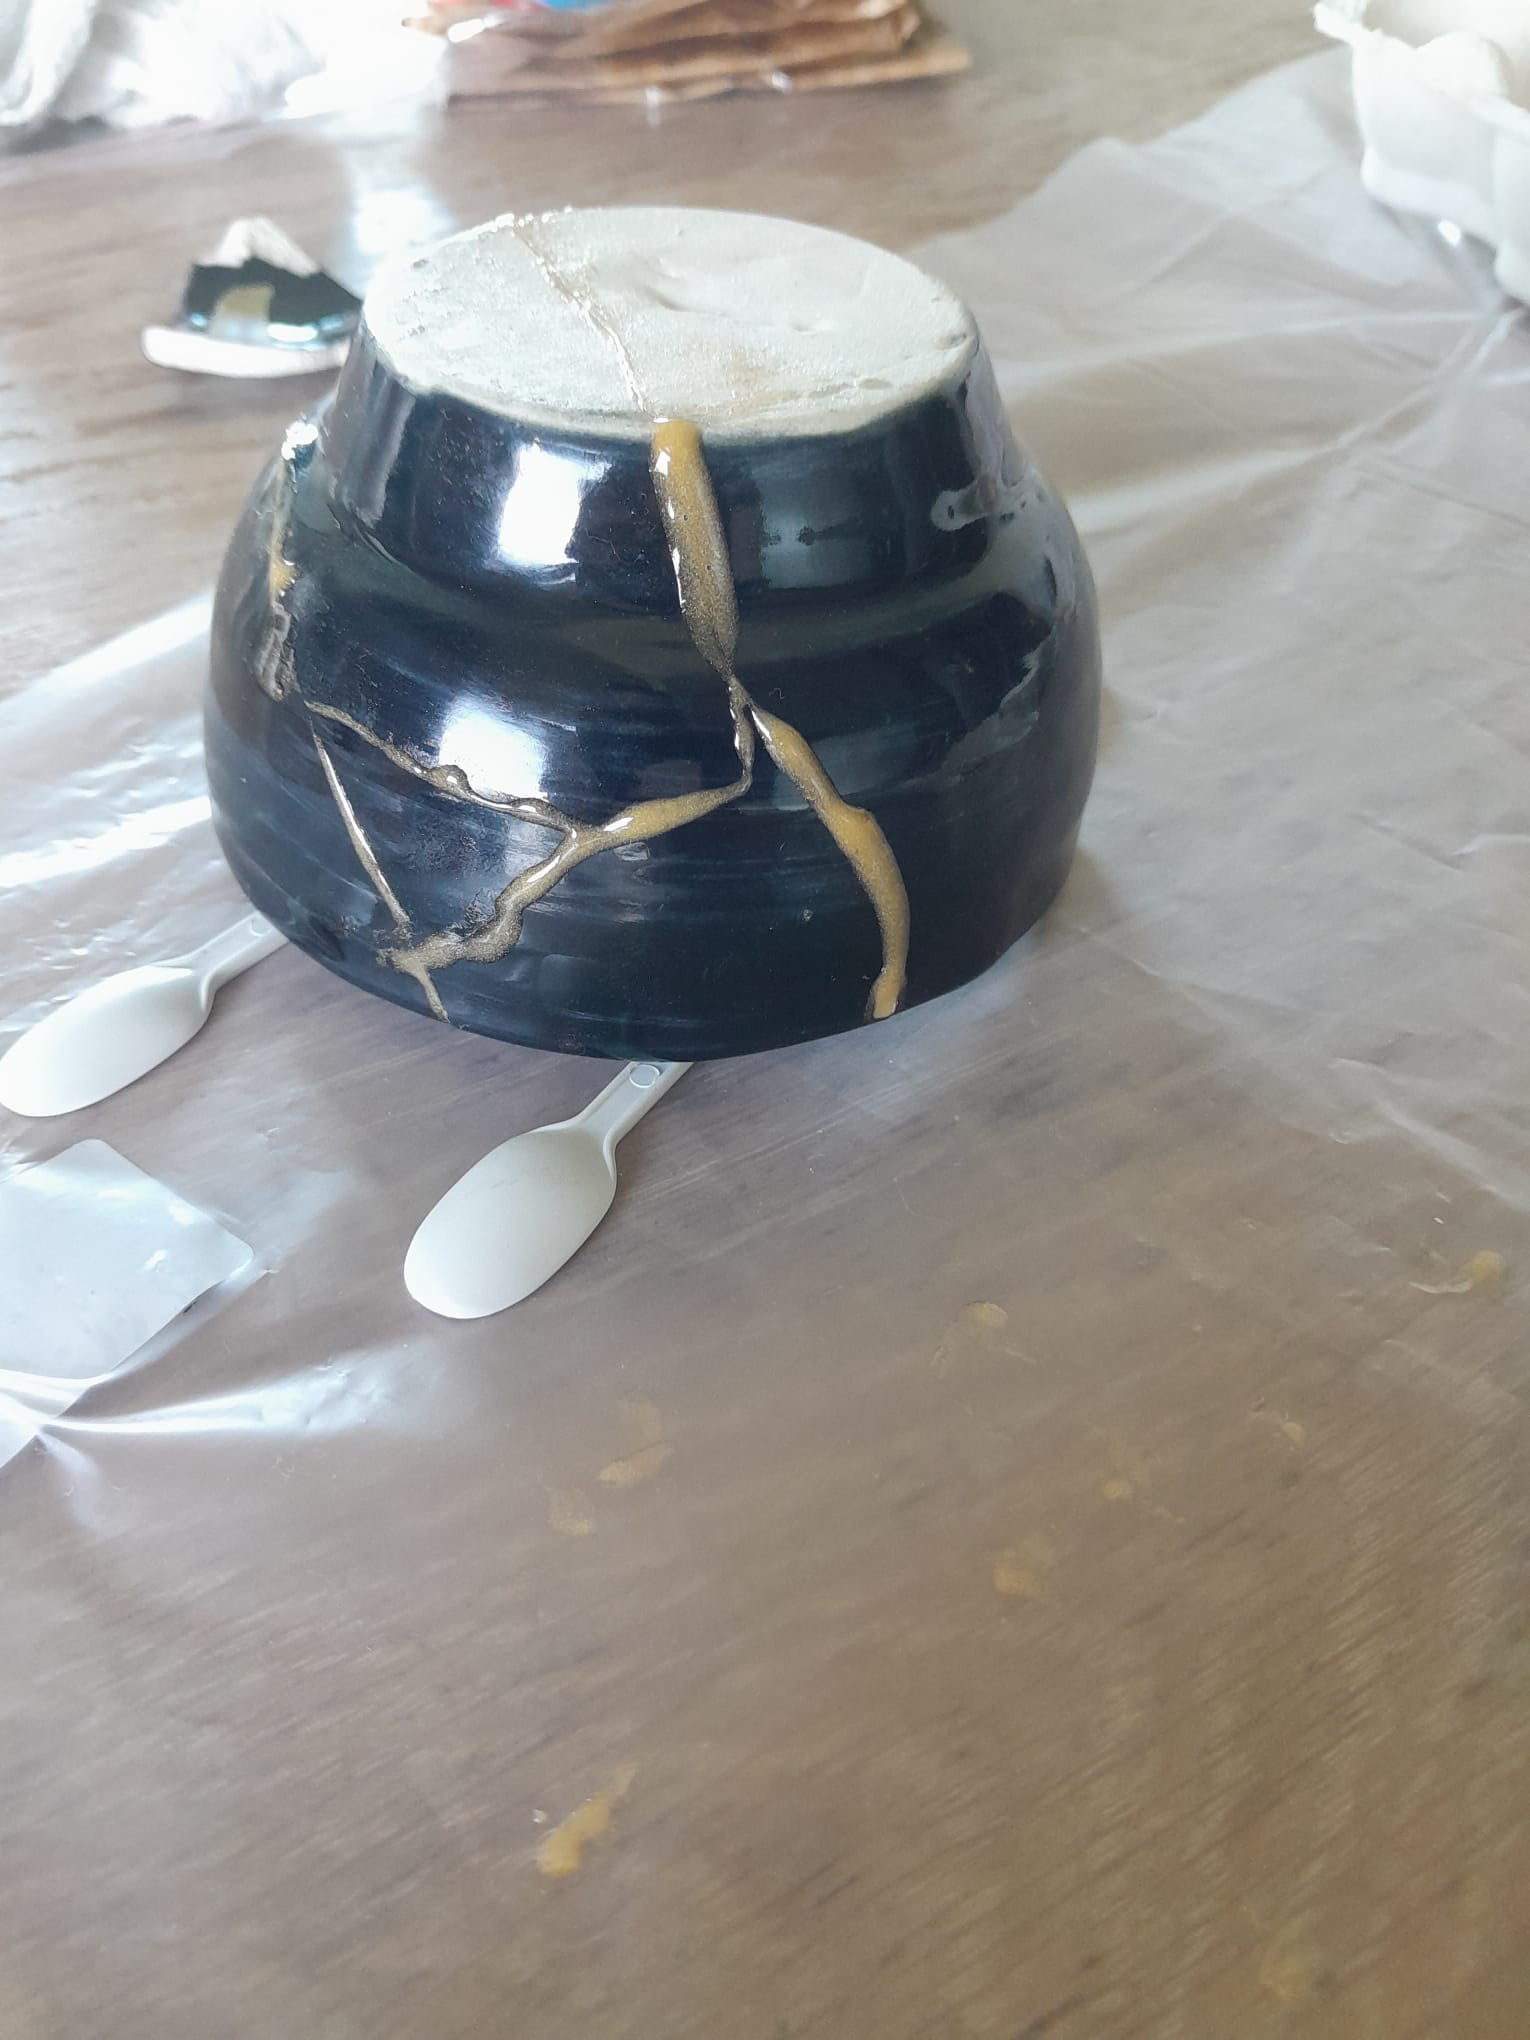
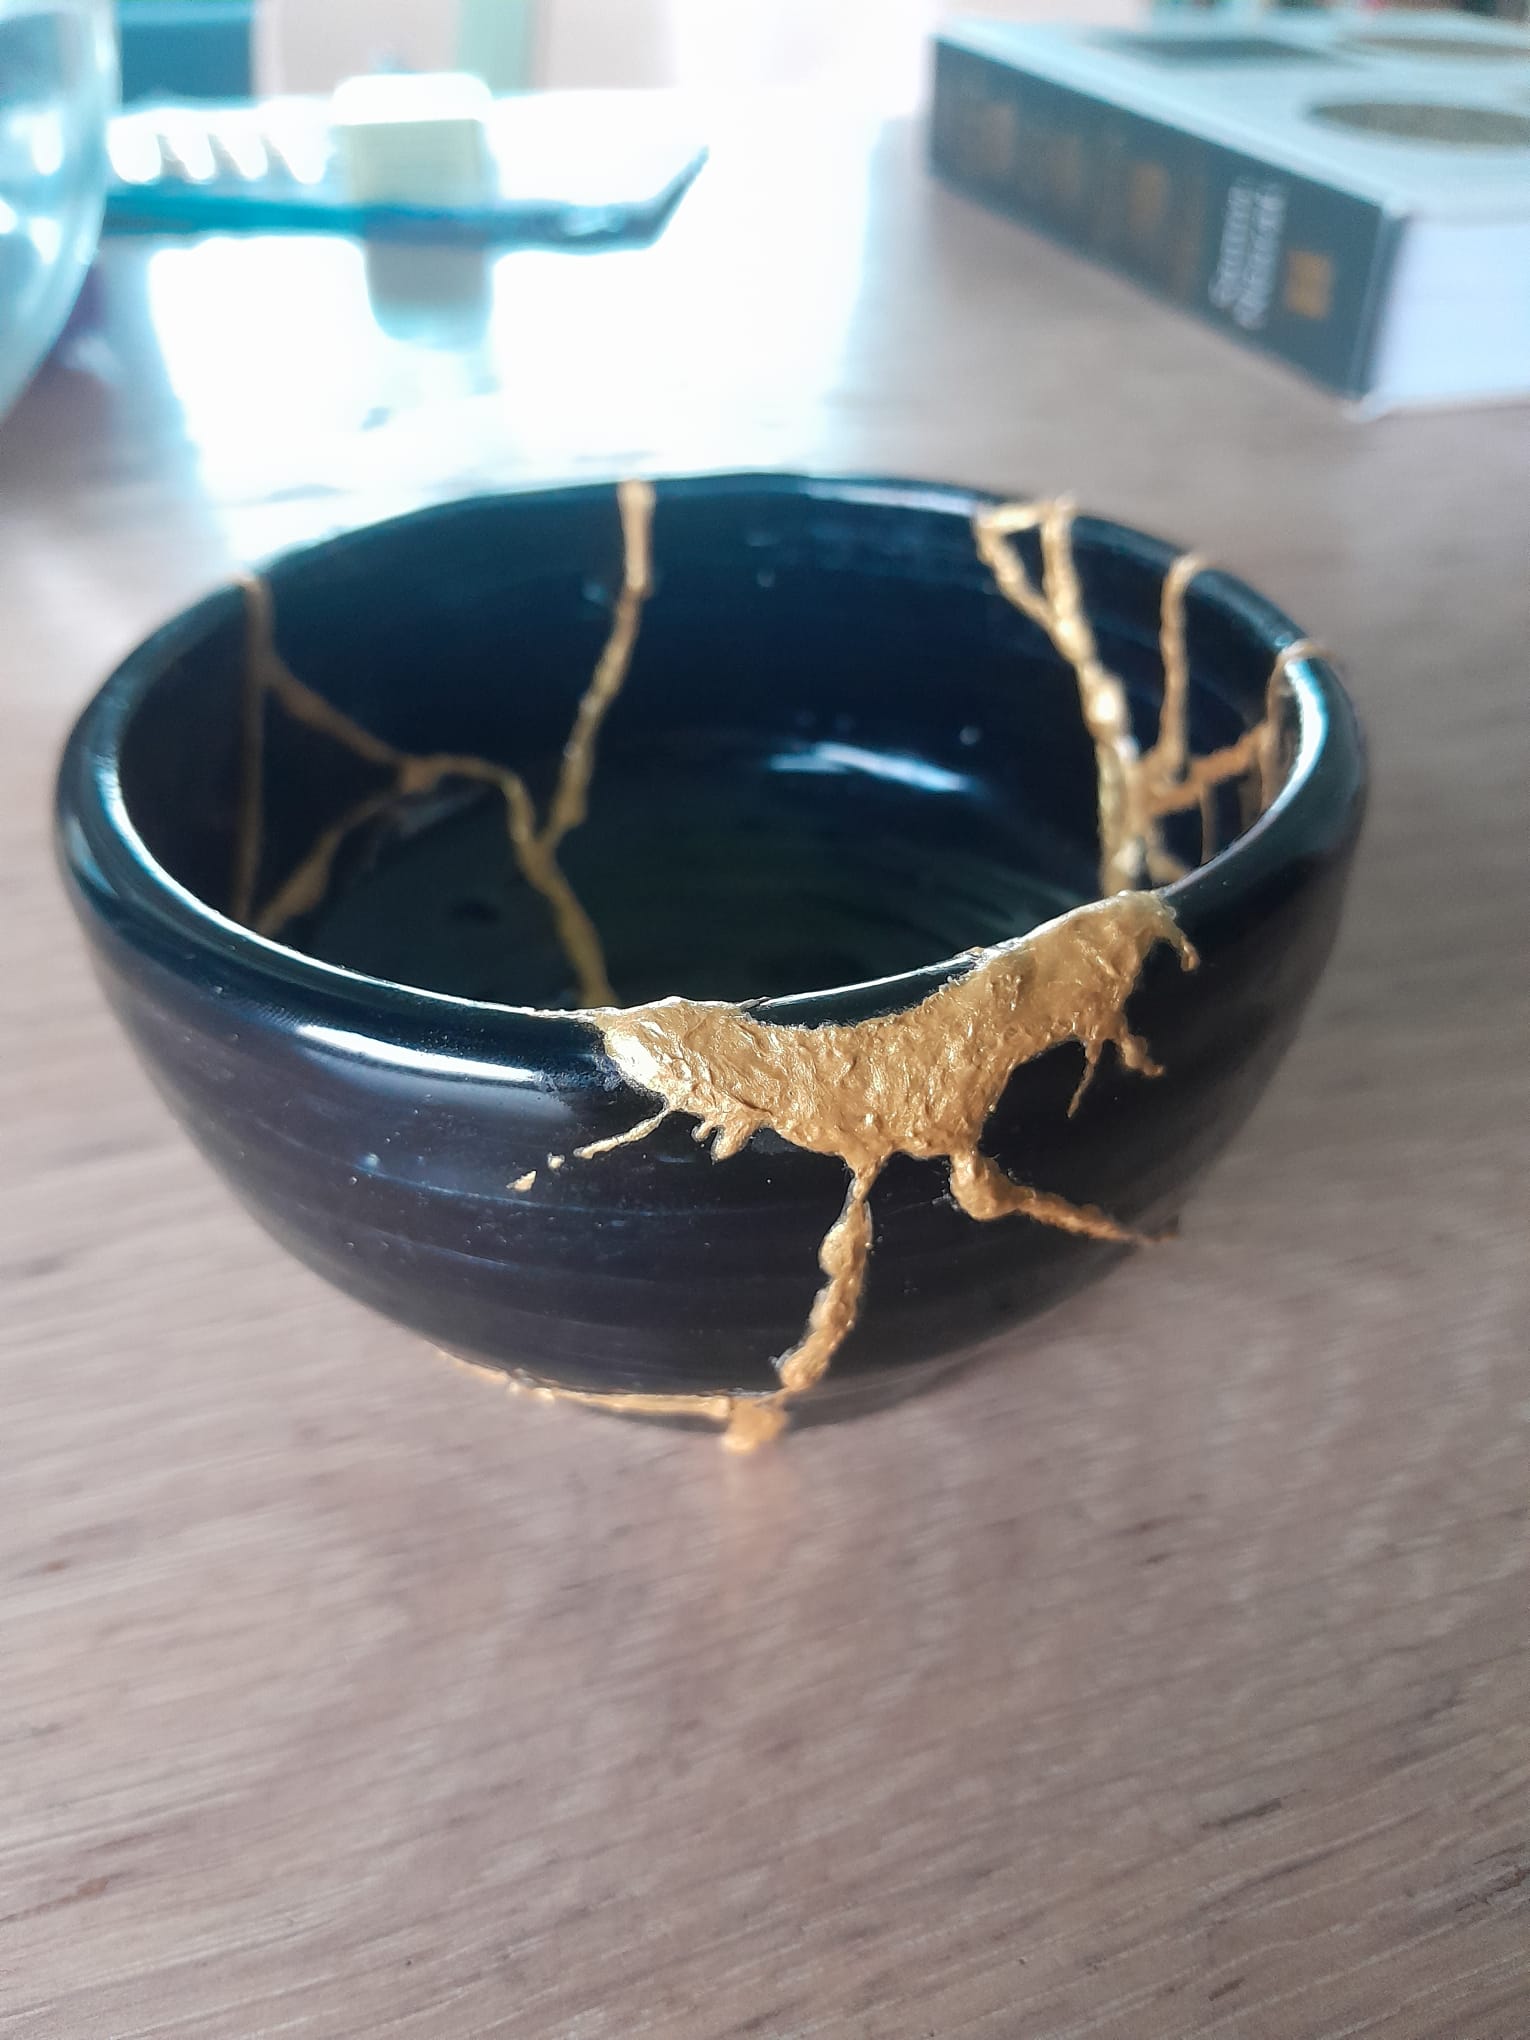
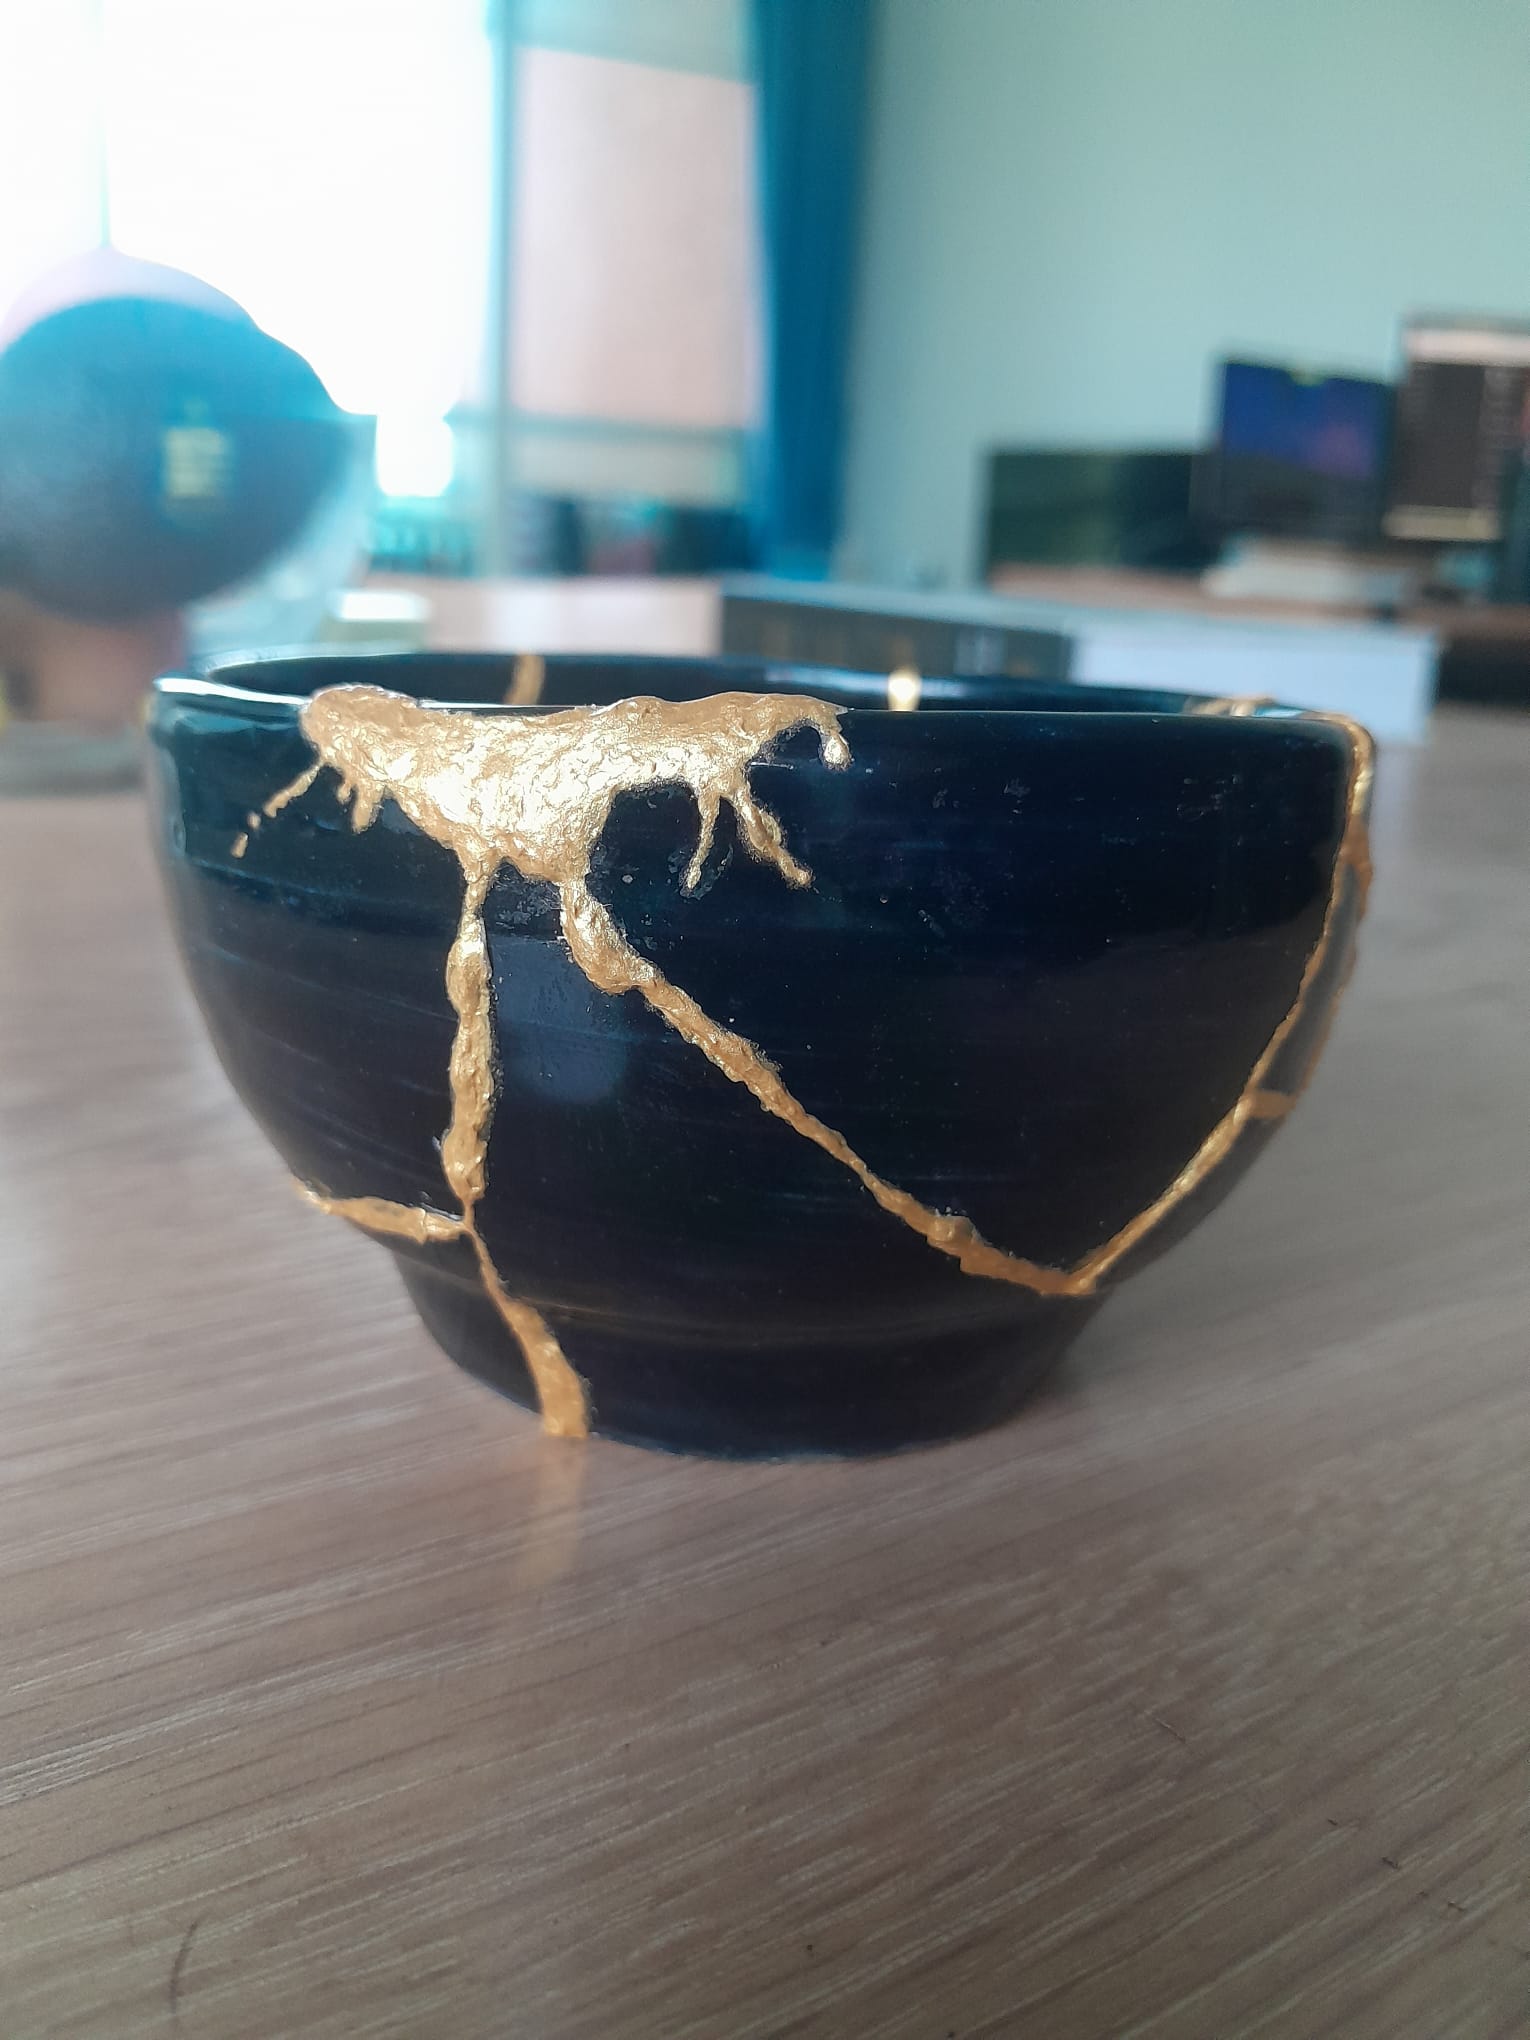
The other side was not so fun to put back together and involved a lot of swearing and pieces falling out of place. One of the downsides of epoxy is that it will take a long time before the bond will hold in place. The epoxy had a 90 minute window before hardening, so I needed to strike a balance between holding the smaller pieces until they bonded tightly enough and not holding them for too long that the rest of the epoxy set before I applied it. In hindsight, I should have used superglue to join these smaller pieces into several larger pieces and then used epoxy to join those to the main body. However, the epoxy did do a very good job of filling the gap where I couldn't piece the bowl back together near the lip (below right), and I quite like the unintended effect of it resembling molten gold.
Any misplaced epoxy (mostly caused by my clumsy fingers) could be removed with a craft knife once it had hardened slighty. I expect that the varnished finish on the bowl helped, that the epoxy couldn't form a tight bond to the surface. Once cleaned up, I left it overnight to allow the epoxy to cure fully.
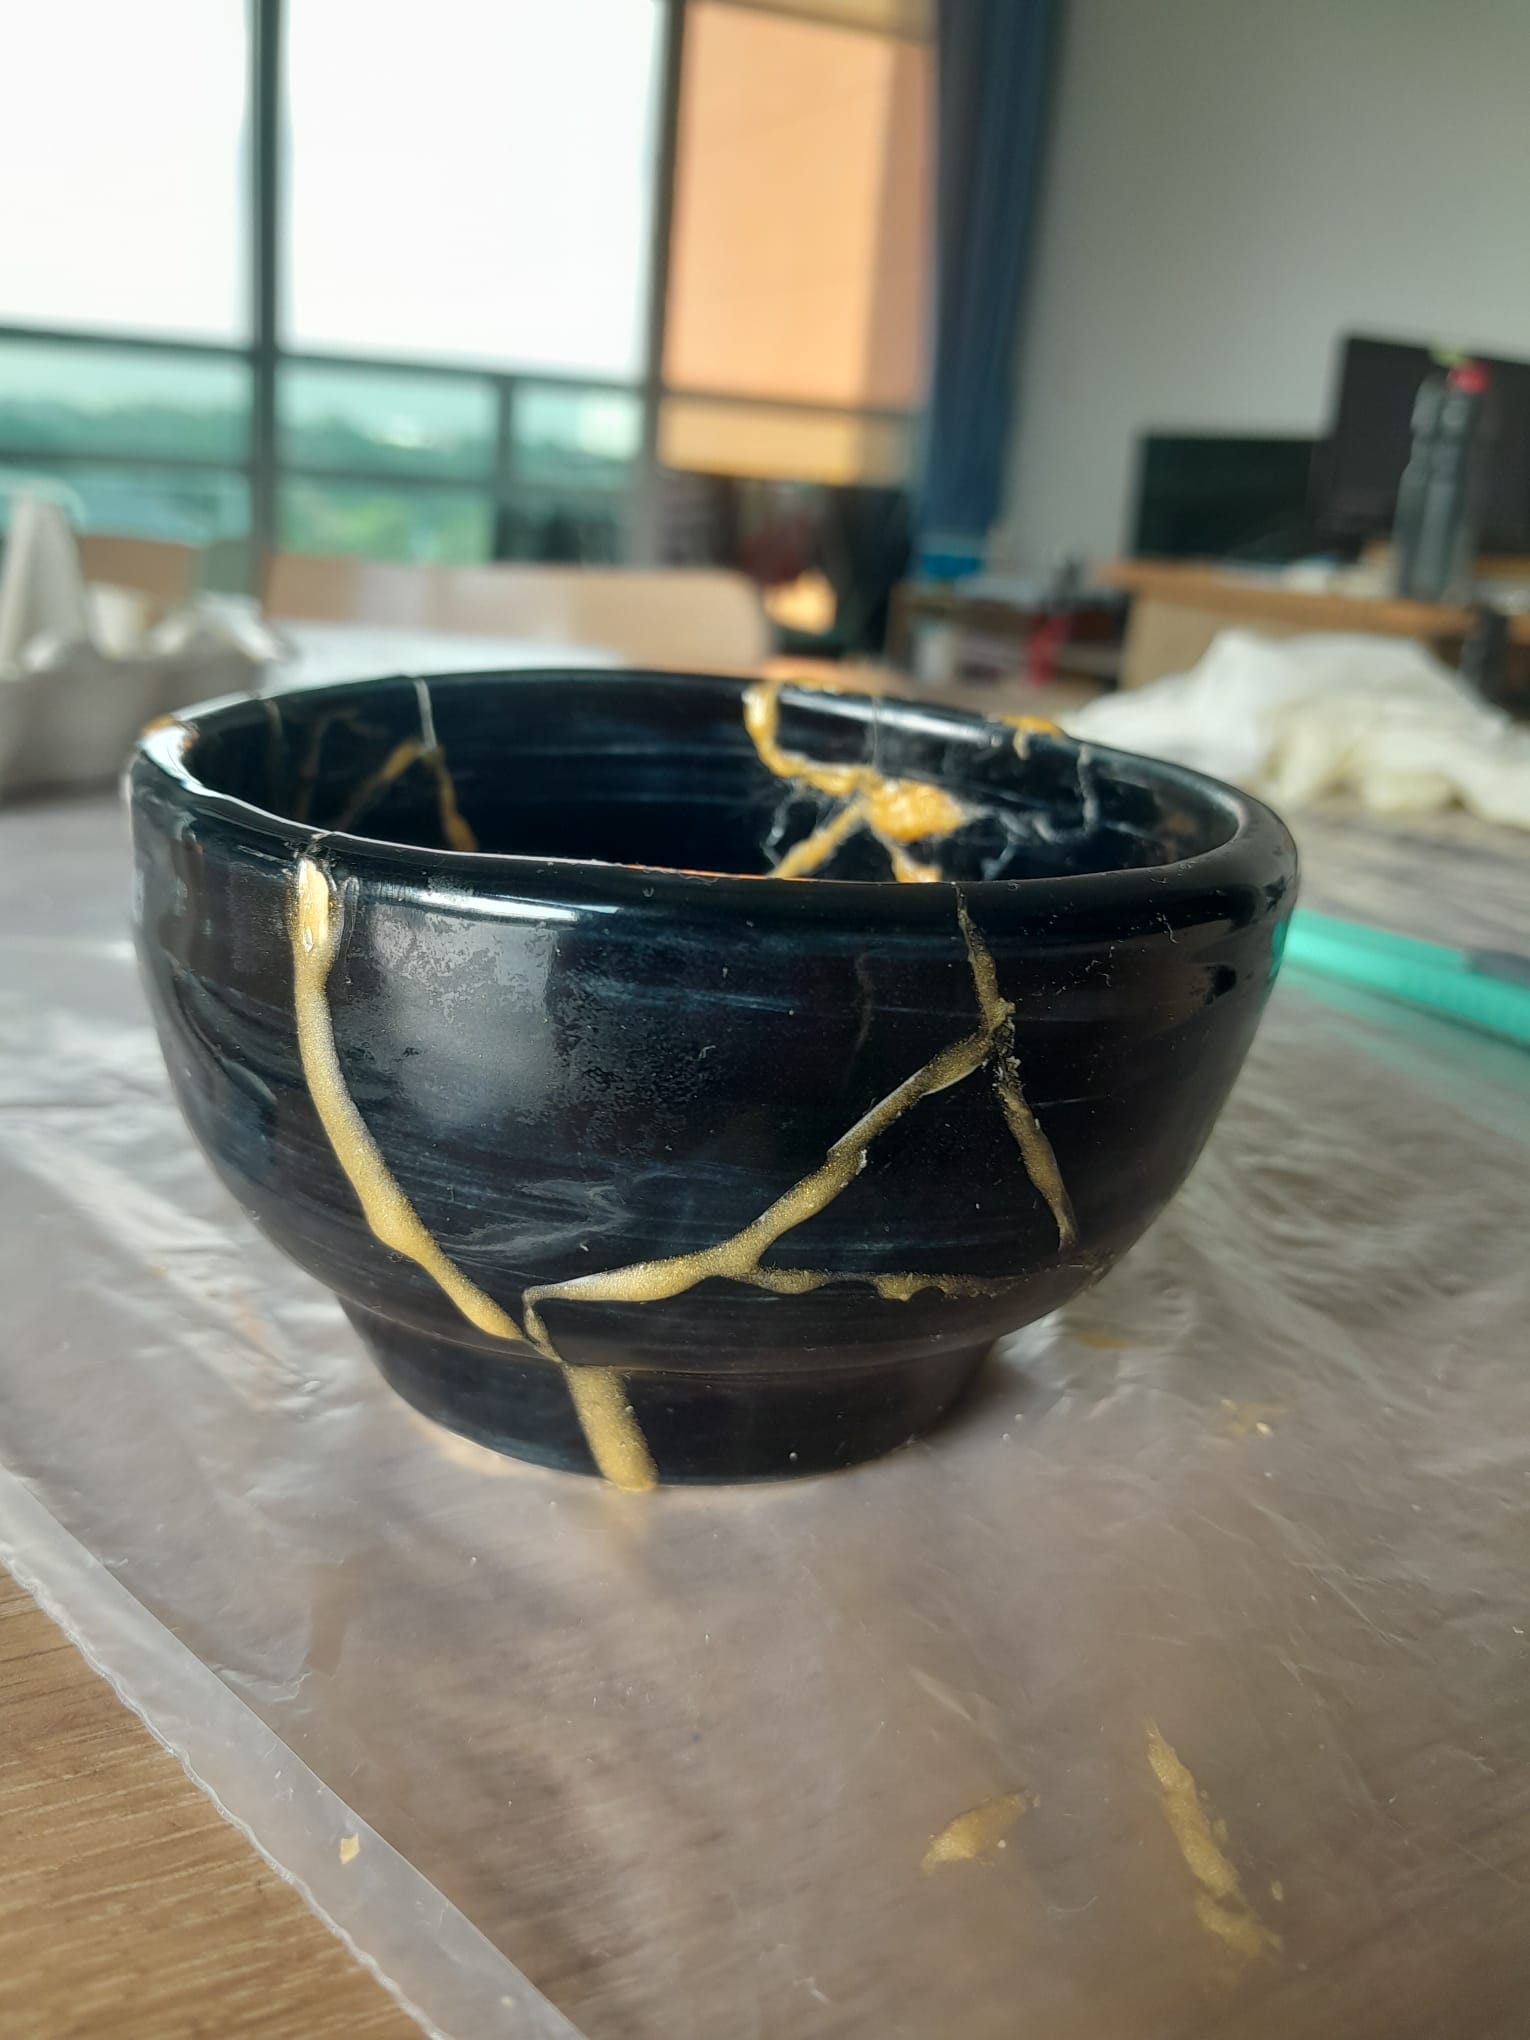
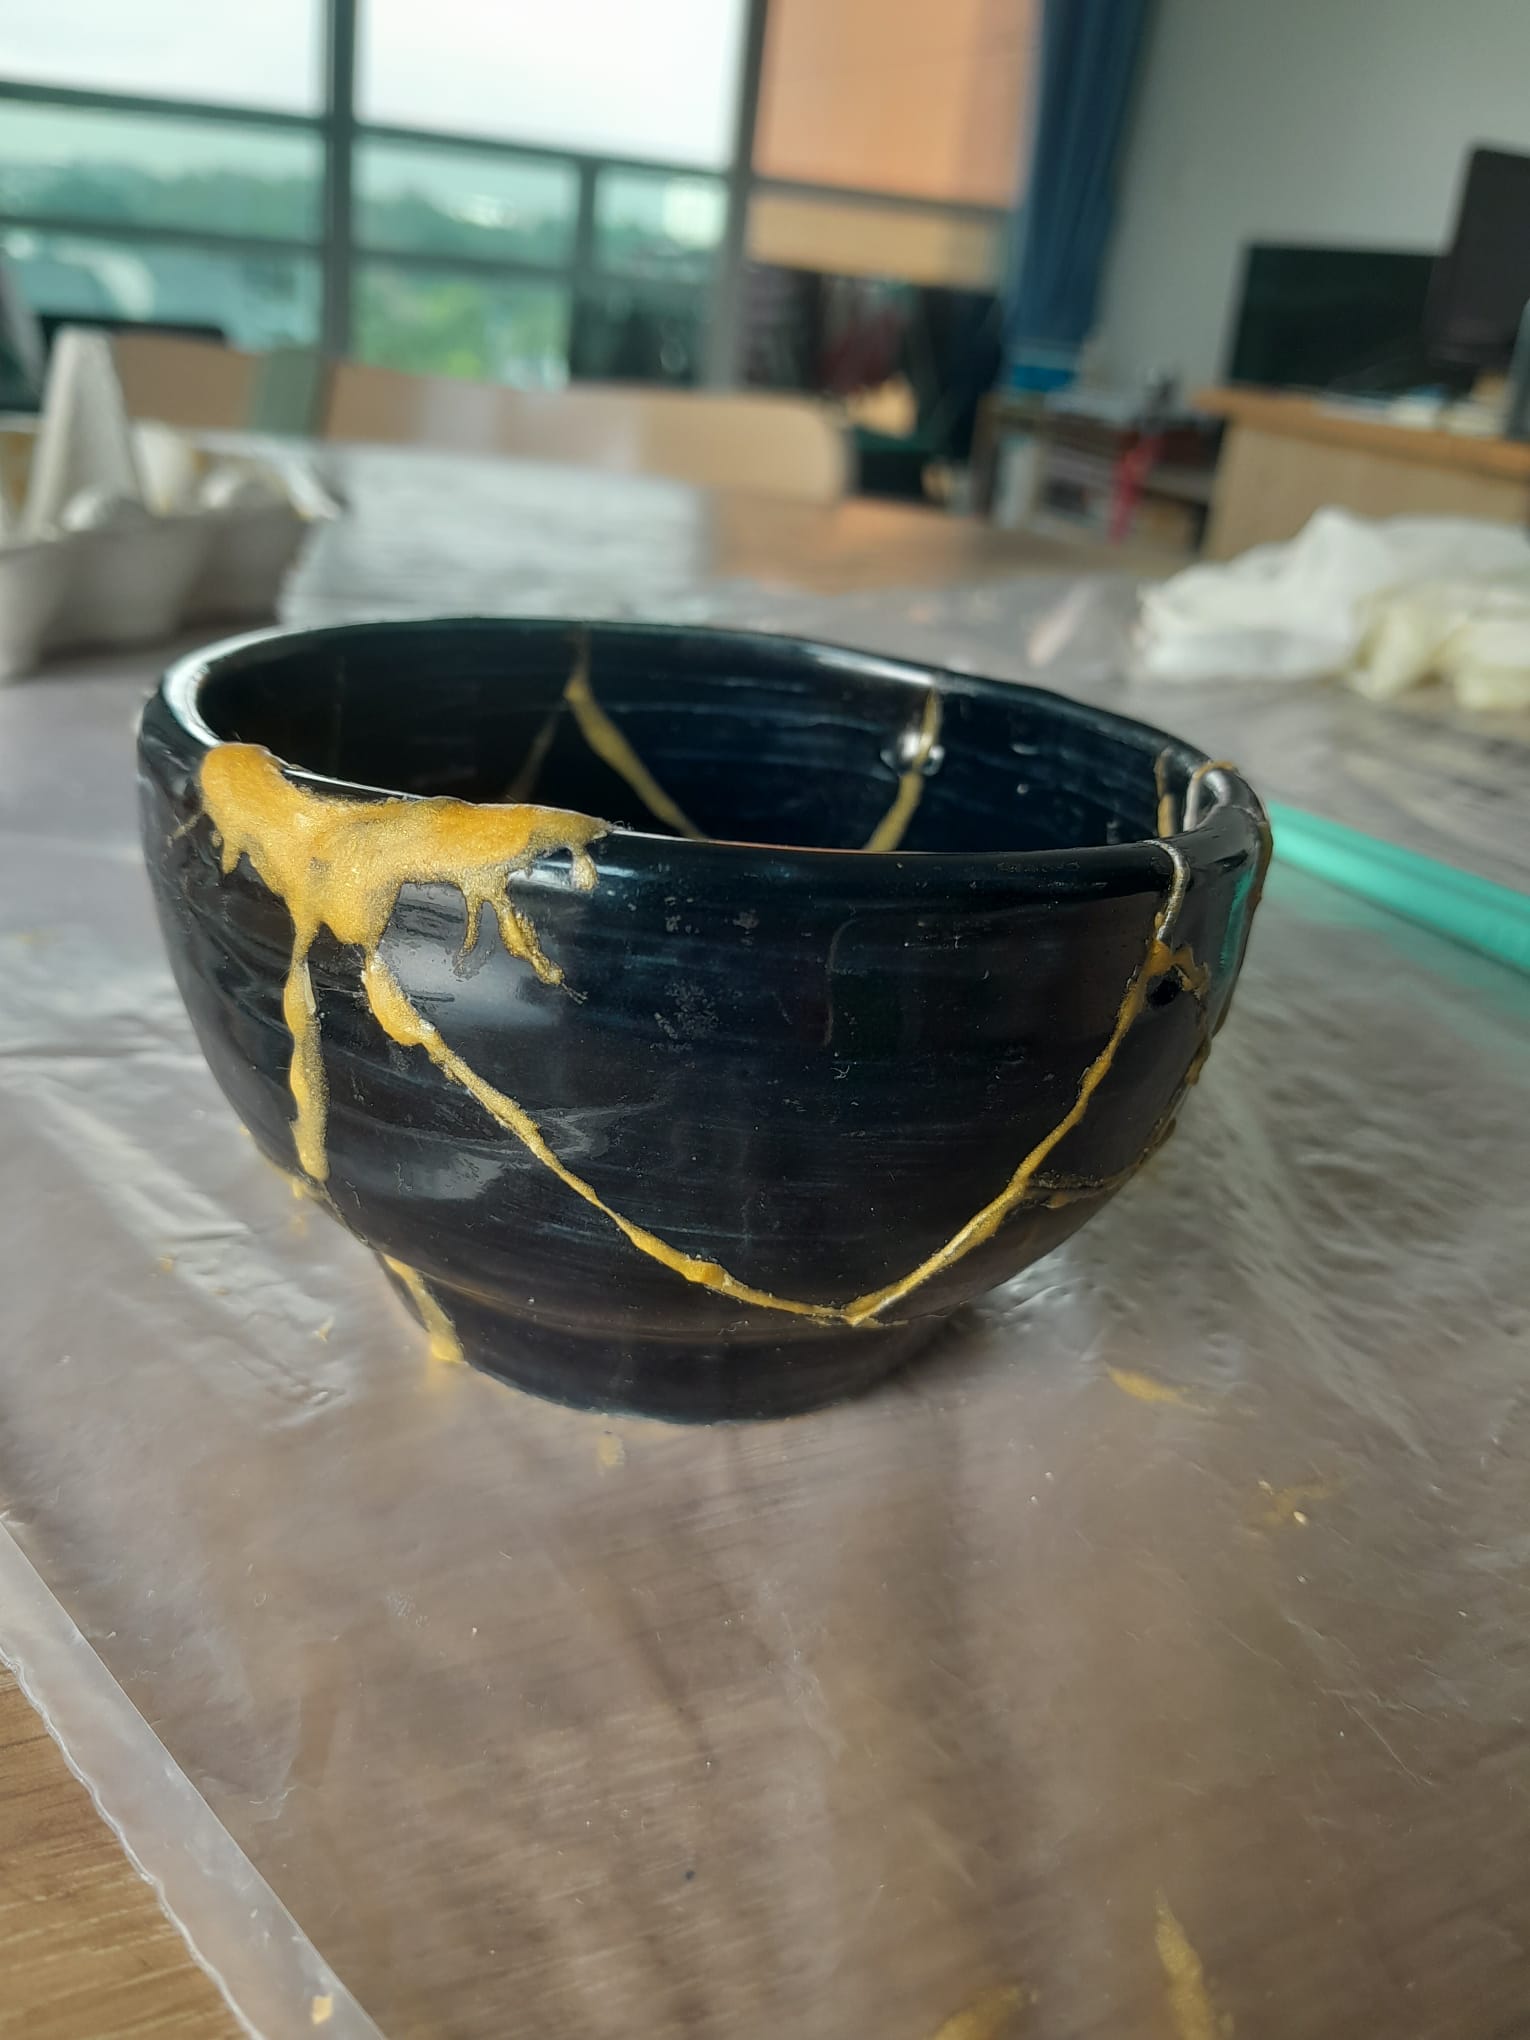
I'd originally hoped that including the paint in the epoxy mix would result in bright gold seams between the cracks, but epoxy naturally cures to a clear finish and this dulled the paint somewhat. The resulting colour looked more like cartoon honey than gold, so I decided to paint over any exposed epoxy. Once this had dried, it really stood out against the black and the effect was just what I was looking for.

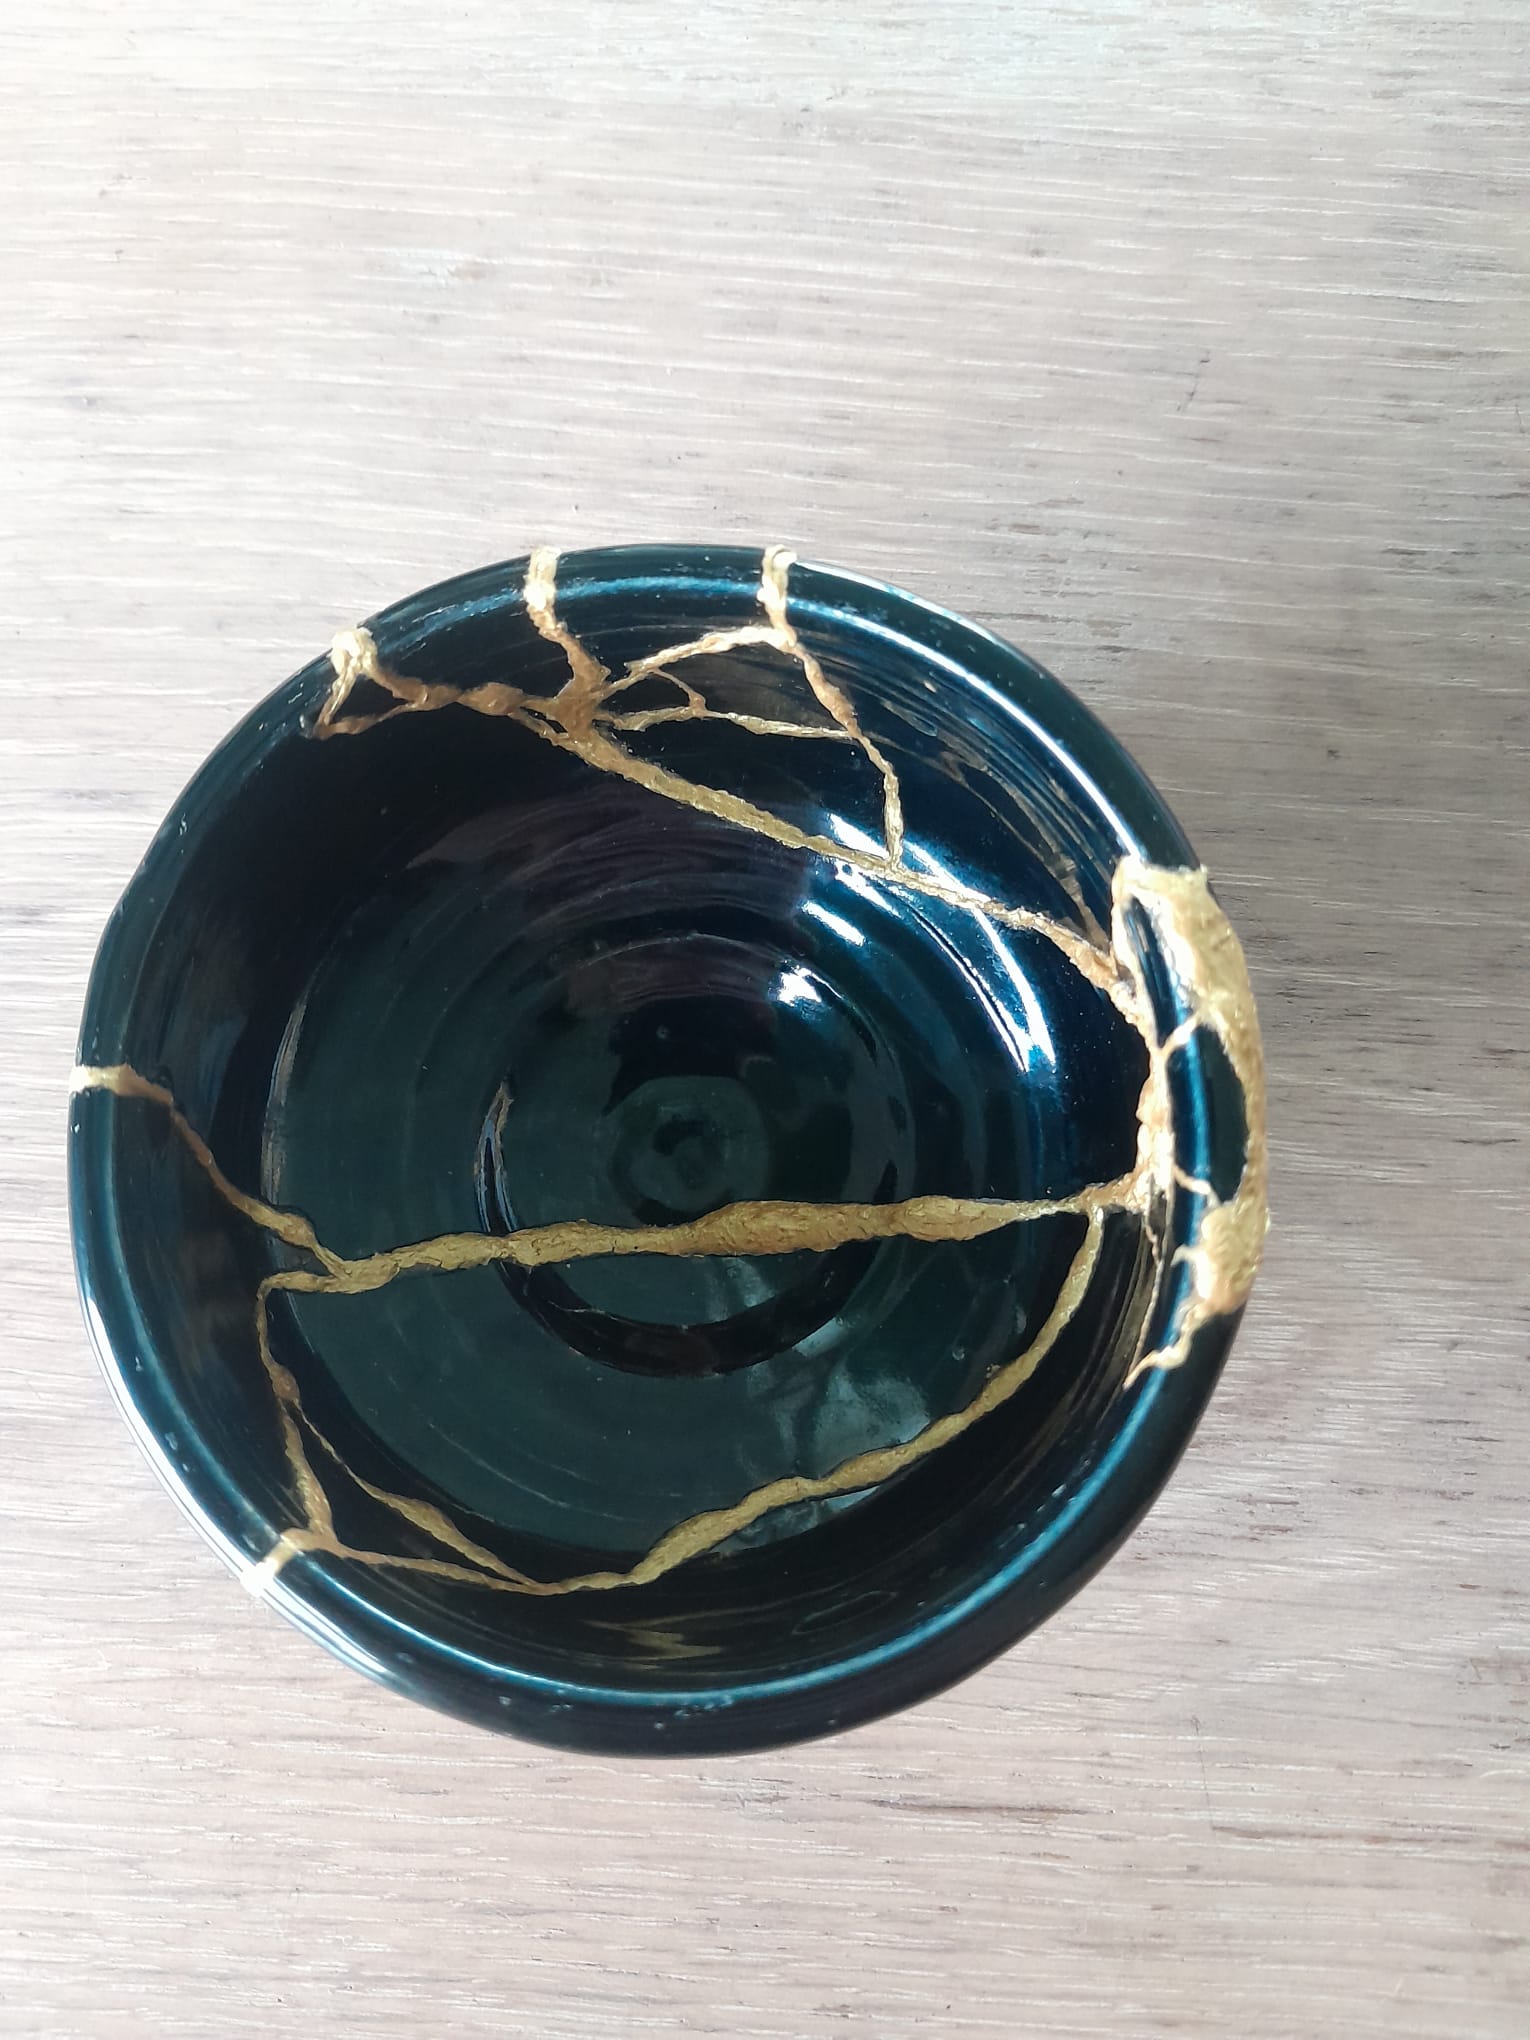
The whole project took about 2 days from start to finish, though most of that time was spent waiting for either the epoxy to cure or the paint to dry fully. Total working time was probably only a couple of hours. Very pleased with how this turned out for a first attempt.